How to home brew Brewdog Punk IPA in 13 simple steps | Brooklyn Brew Shop
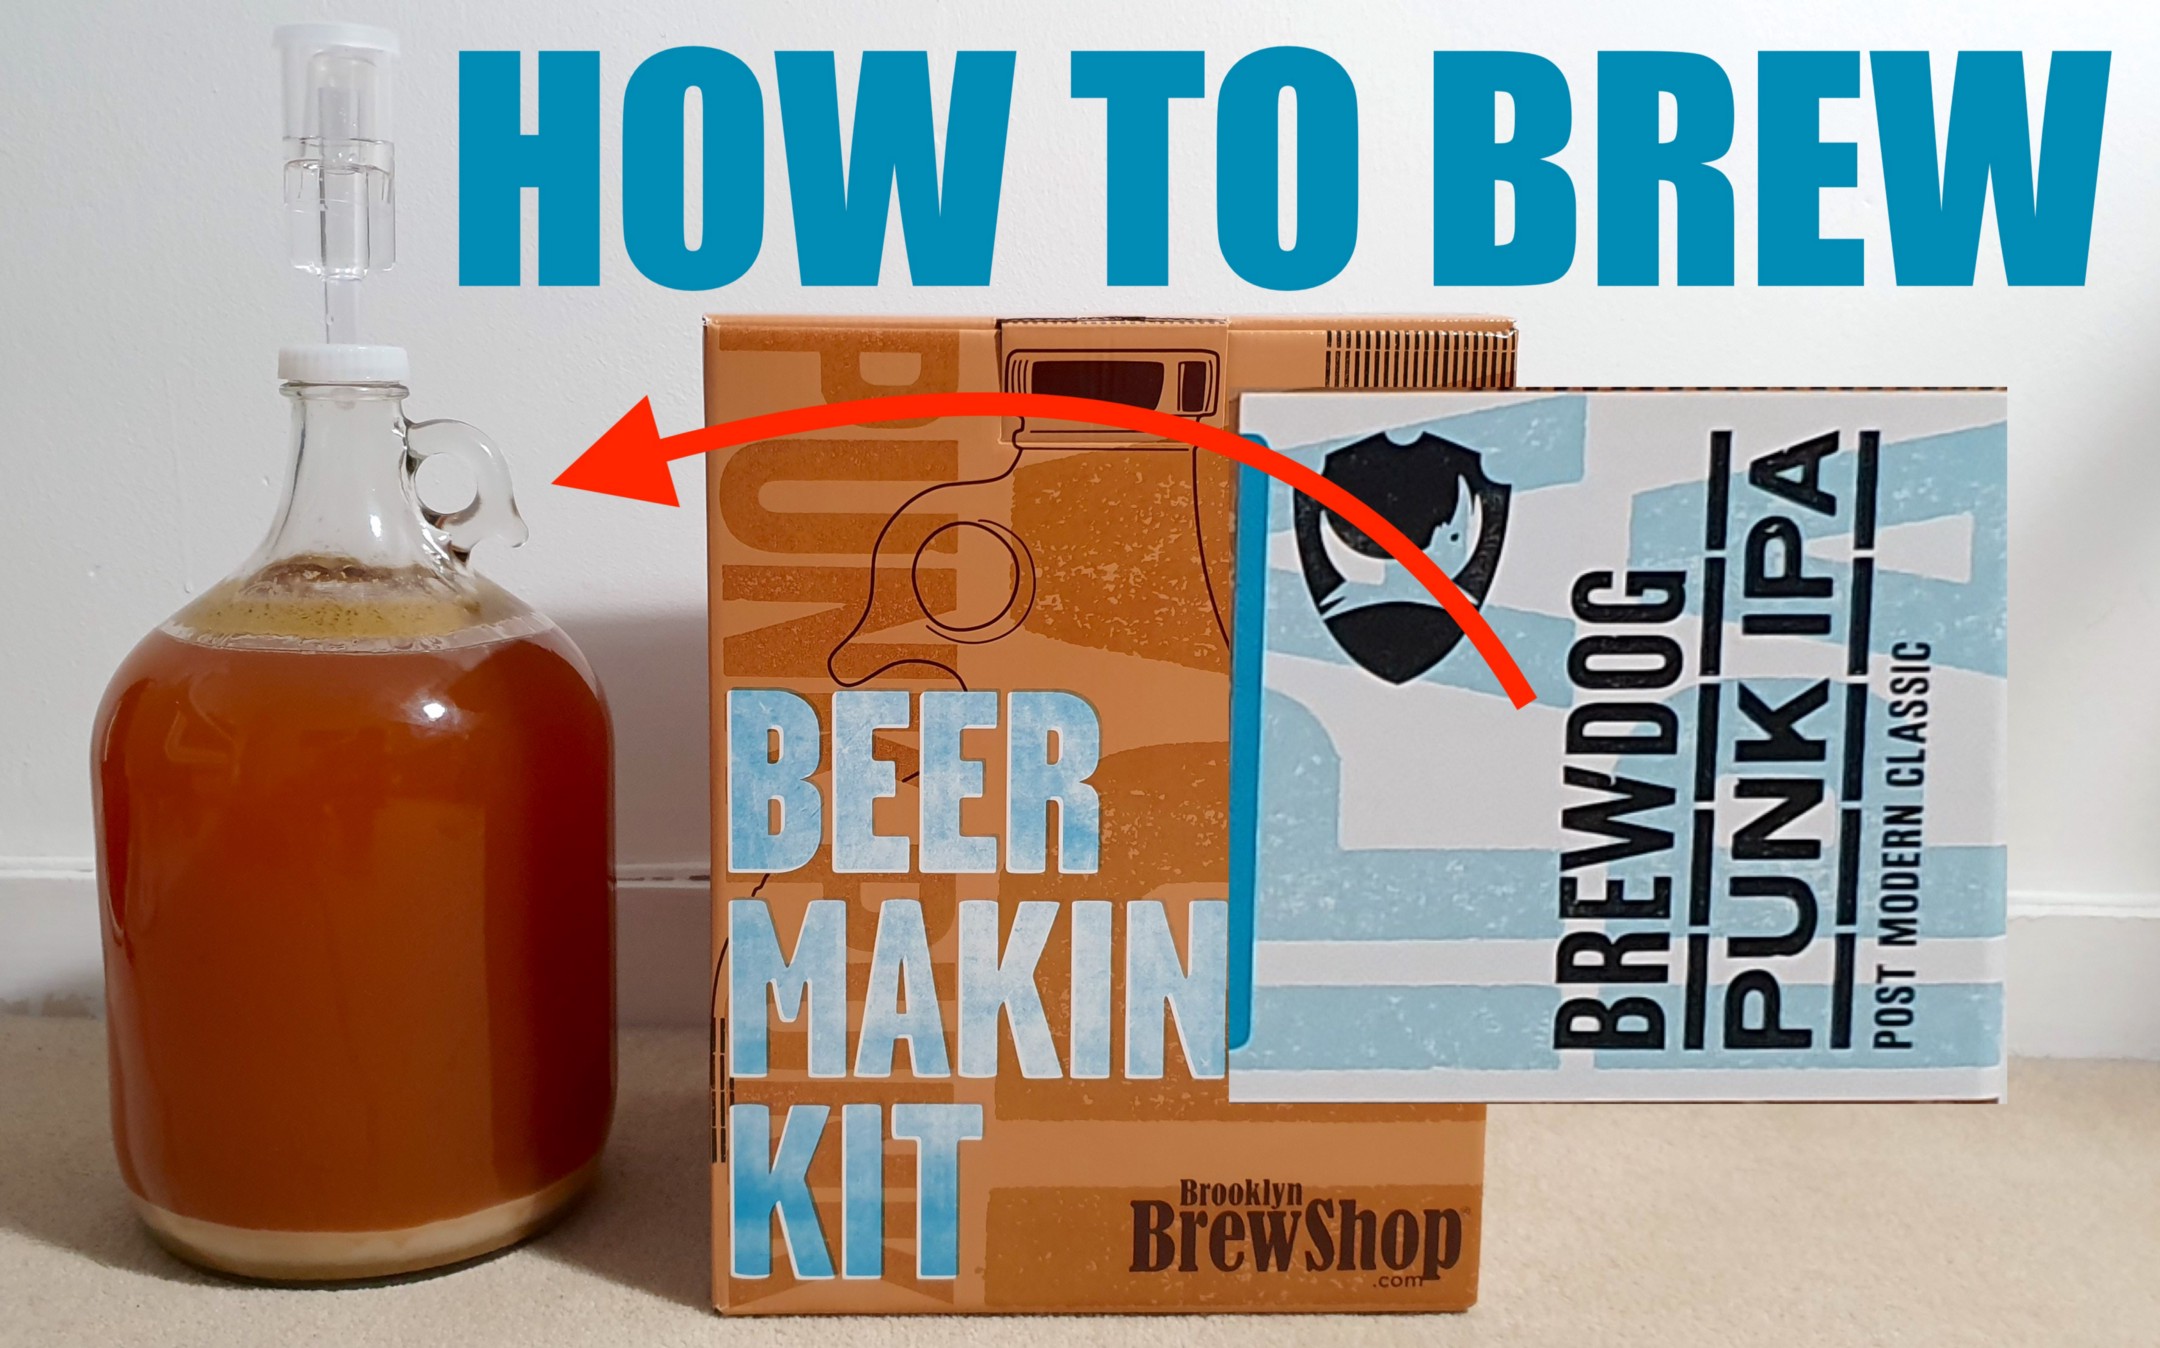
If you’ve recently obtained a Brooklyn Brew Shop Punk IPA kit or are just curious about brewing brewdogs iconic Punk IPA then this is the guide for you. I’ll assume you already have the kit, if not you can grab one by clicking here OR grab the ingredients individually (I’ll list them later).
If you prefer a video version to see how each of these steps are carried out, this video will get you started in 13 simple steps. Keep scrolling for the text version!
FYI, I use affiliate links in these posts to help support this blog. By using the links you’re giving a small kickback to me at no extra cost to you :)
Step 0 - Kit and Ingredients
Before we get started, here’s a list of all the kit and ingredients you’ll need to make this brew. If you bought the Brooklyn Brew Shop kit then you’ll already have most of this.
The items and ingredients linked below will make a 1 gallon batch of beer.
- 1 gallon Glass Demi John (This is a 5L demi john so a little larger than a 1 US Gallon so bear that in mind)
- Rubber Tubing (with racking cane for later)
- Airlock (comes with the Demi John)
- Cooking Thermometer
- Strainer or Straining Bag
- 3x Large cooking pots
- Funnel
- Hydrometer
- Malts
- Extra Pale (80g)
- Caramalt (5g)
- Hops
- Ahtanum (2.5g)
- Chinhook (4g)
- Bonus Hops for dry hopping: Chinook (12g), Ahtanum(9g), Simcoe (9g), Nelson sauvin (5g), Cascade (9g), Amarillo (2.5g)
- Yeast
- Sanitizer
Once you’ve got all your kit ready, fill one of the pots with sanitiser and sanitise everything (except the malts and hops of course) and leave to dry on some kitchen towel.
You’re now ready to begin your brew…
Step 1 - Heat 2.5L Water to 72 celcius
Starting off nice and simple with the first step. Fill one of your large cooking pots with 2.5 litres of water and heat to 72 Celcius (161 Fahrenheit).
Boom, step 1 complete!
Step 2 - Cooking the Grains
Now your water is up to temperature, get your grains and add them all to the water. This should bring the temperature of the water down slightly which is just what we need.
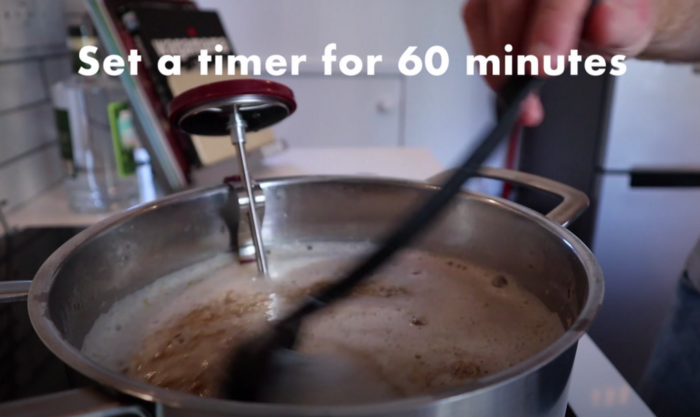
Cook the grains making sure the temperature is between 63 and 68 celcius for 1 hour. It’s important to keep the grains between that temperature for the whole hour.
You probably won’t need to keep them on a constant heat so just heat when needed to prevent falling below 63c and then turn it off again. I recommend checking up on it every 15 minutes or so to ensure the temperature is ok and to give it a quick stir.
Step 3 - Mashing Out
After an hour has passed you’re now ready to begin “Mashing Out”. This process involves bringing the temperature up to 77 Celcius whilst you “mash” (constantly stir) the grains.
This helps loosen the grains up ready for the next step and also ensures we get all the last bits of goodness out of the grain and into the liquid.
Don’t heat it too quickly, just apply some heat and keep stirring for about 5 minutes or so.
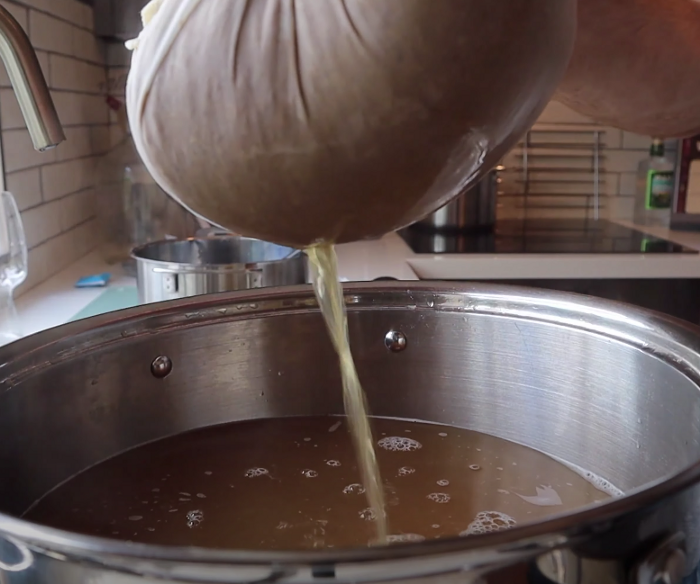
Step 4 - The Sparge
Once your grain mixture is up to 77c take everything off the heat and you are now ready for “The Sparge”. This is just a fancy name for straining the liquid from the grains.
For this you will need another one of the large pots and the strainer or straining bag. Set the strainer up over the empty pot and pour your grain contents into the strainer so the liquid gets collected in the pot. You need to make sure that you collect a total of 4.75 litres of liquid in the new pot.

With just the liquid from your grain mix, you obviously wont have enough, so heat some water up seperately to 77 celcius to make up the difference. Once up to temperature, pour this over the grains too so its collected in the new pot.
This liquid thats been collected is the beer and is called the wort. Pour your wort through the grains a couple of times (you’ll need to juggle pots at this point to get this to work) and you should be left with 4.75 litres of beautiful wort in a pot, and your grains in the strainer.
TIP - You are now done with the grains and can discard them however you can use these spent grains for bread making or composting if you’d rather not just throw them away.
Step 5 - The Boil
Super simple step this. Heat your wort until it boils and you see it starting to foam then reduce the heat so it sits at a light boil. Then jump to the next step.
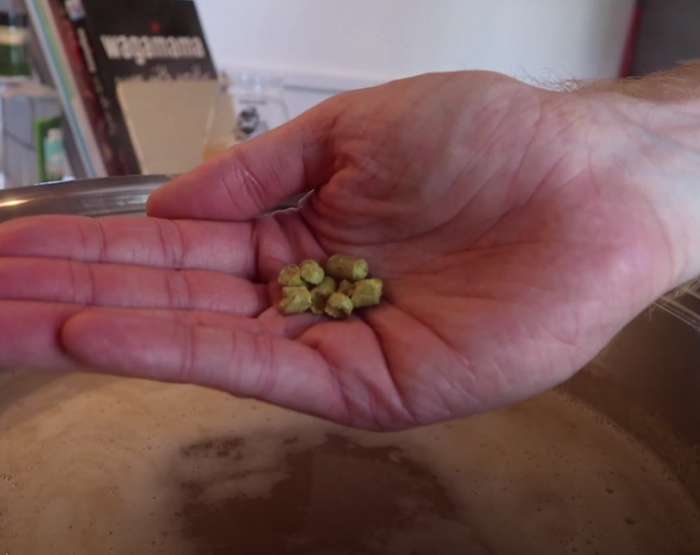
Step 6 - Hop Time
It’s time to add the first lot of hops. Now your wort is on a light boil, set a timer for 45 minutes and add 5 or so pellets of the Ahtanum hops. Just drop them into the wort, give it a quick stir and leave it on a light boil.
You can enjoy a beer and relax because you don’t need to do anything for 45 minutes.
Step 7 - More Hops Time
Now its time to add 2.5g (2/3 of the Brooklyn Brew Shop packet) of the Chinook Hops and 1g of Ahtanum hops (3/5 of the remaning Brookly Brew Shop Packet). Set another timer for 15 minutes and leave the beer on a light boil.
Step 8 - End of Boil
Turn off the heat and add 1.5g of Chinook and 1g of Ahtanum hops (the remainder of the Brooklyn Brew Shop packets for those using the kit).
At this point you should be left with 1 US Gallon of liquid as the boil will have evaperated some. Don’t worry if you have a little more or less, this can be fixed later.
Step 9 - Cooling
This is a really important step. You need to cool your wort down to 21 degrees celcius. It’s important that you cool it properly because you don’t want to add yeast to liquid that is too warm. If you do you’ll effectively shock the yeast and render it useless so it won’t do its job of creating alchol (booooo!).
I recommend creating an ice bath in a sink or large container and setting your cooking pot in the ice bath with a thermometer in it, until it cools to at least 21 degrees celcius.
Step 10 - Transfer to the Demi-John
Once your wort is down to 21c it’s time to transfer it from the pot and into the Demi-John (remember to sanitize). To do this I recommend using a funnel and a small sieve to catch any large leftovers in the wort.

You may need someone to help, but simply pour the liquid from the pot, through the sieve and funnel, and into the demi-john.
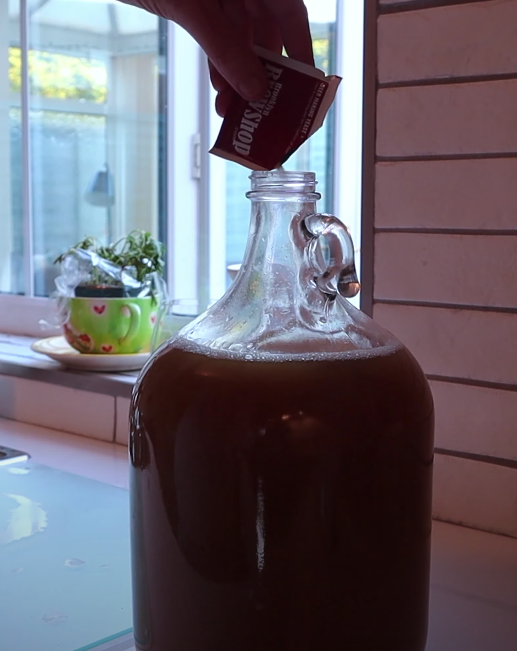
Step 11 - Pitching the Yeast
Super simple. Just pour all of the yeast into the top of the demi-john.
Step 12 - Shake it Shake it Baby!
Sanitize 1 of your hands so you can use it to block the top of the demi-john whilst you give it a good shake.
Make sure you shake it up real good, do a little boogie whilst you’re there for good measure. This will activate the yeast so it can begin turning those sugars into alcohol.
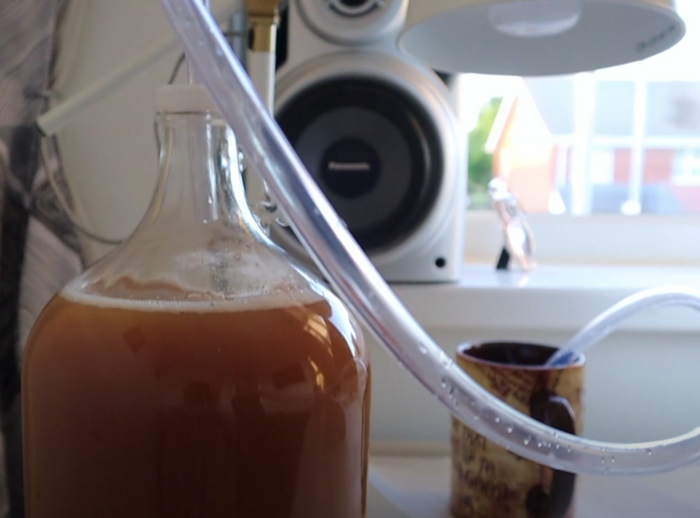
Step 13 - Blow off Tube
One of the byproducts of the yeast doing its business is carbon dioxide. This will form bubbles in the liquid and initially it might be a little too aggressive for a standard air lock.
To solve this, you can create what’s called a “blow off tube”. Screw the cap on the demi-john, place the tubing an inch or so into the top and put the other end into a small bowl of sanitizer. This will allow the carbon dioxide to escape quickly through the tubing and out into the bowl of sanitizer.
The next day you’ll probably hear your blow off tube working. Your bowl of sanitizer will be popping away as bubbles escape from the tubing.
Once this settles down (usually after a couple of days) you can replace your blow off tube with the airlock. Simply add some sanitizer into it and pop it in the top.
FERMENTATION
JOB DONE! You’ve just started the fermentation process. You now have (a long) 2 weeks ahead waiting for this to finish fermenting.
Make sure you keep somewhere dark and at room temperature (around 20 degrees celcius) for the whole two weeks and try not to move it around too often. In 2 to 3 weeks time fermentation should be complete and you’ll be ready for bottling!